Circuits
Back to index
To make physical computers, components named transistors are needed. They're able to act like floodgates for the main current that will open only when a different current is applied. We used this property to make breadboard logic gates on Tuesday, Week 2.

When looking at it with the curved side on the back, the left contact is the collector, or negative end, the middle is the positive base, or floodgate key, and the right is the emitter, or positive end.
We also used some other basic components:
| Resistors reduce the energy of the current to a level tolerable enough for other components. |  |
| Wires shuttle currents around to different areas of the breadboard. |  |
Breadboards are good as a controlled and tweakable environment to test circuits; insert wire in a
central row and all other contacts in the row will also conduct from it. |  |
| LEDs in the circuits work as both current indicators and a visual for how they work. | 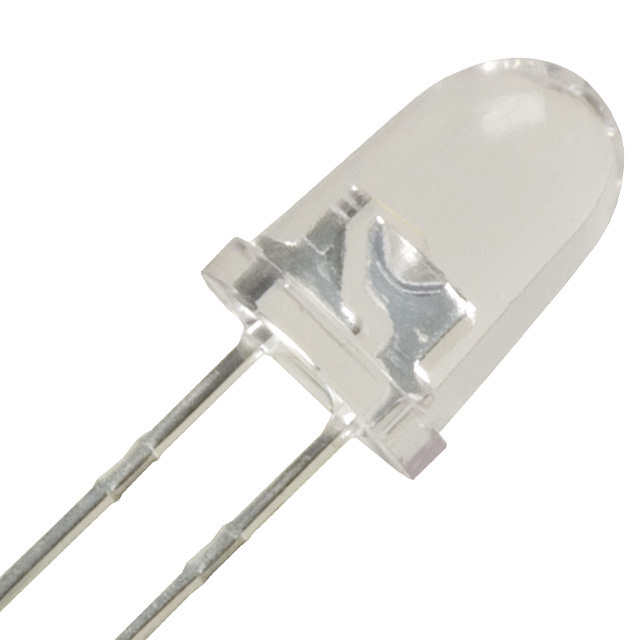 |
The following circuits are powered by a six-volt battery and alligator clips.

This first circuit uses the resistor to not let the LED burn out while powered.

This is a basic circuit to demonstrate the transistors' ability: the green LED won't light without the red LED conducting positive current from the battery to the transistor's base.

The OR gate in breadboardedness is shown here; both red LEDs' positive ends are able to get their current to the base via wire, so if either of the red inputs conduct, the output will also be on.

In this case, only one input is on, but the output is still also on.

The AND gate needs another transistor, and works by conducting the main current through each transistors' explicitly negative and positive ends, then the LED, then the positive end. If either transistor doesn't get its base conducted into by each red LED, then the current can't make it.

Without the other LED's input, the gate can't output current.
Soldering
On Thursday, Week 2, we used a soldering iron to assemble a little Make kit for a blinky badge.


There were seven different contacts to solder: each LED's two wires, the pin, and the two battery contacts to adhere to the board.

We used a standard soldering iron and non-lead solder.
To do this, we learned how to solder correctly:
- To deposit solder, hold the wire between the soldering iron and the connection point.
- Cleaner connection points allow the solder to bind and deposit itself more easily. To help with this, a chemical called flux within the solder corrodes away any oxidation or dirt.
- When the soldering iron is too oxidized or dirty, it can't heat up the solder effectively enough. Clean while soldering, and leave a layer of solder on the tip when done to protect it.
- Be careful to not allow contact between separate connection points in case of a short or crossing different currents.