3D Graphics
![]()
On Tuesday January, 20 we started learning about 3D graphics.
We learned that 3D graphics are made of a bunch of tiny squares
that are called pixels. Pixels are used in computers, TVs and everything
else that shows an electronic image.The pixels change color
according to the image that they are trying to make. The pixels
fool the brain into thinking that the pixels are an image as
shown in the image above.
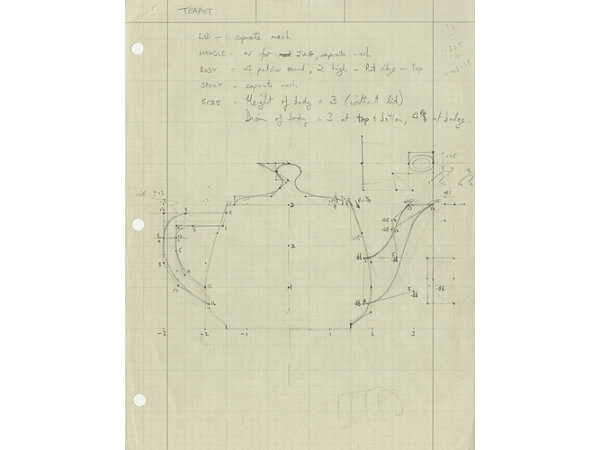
I did some research on the Utah Teapot and I found out that it
was a 3D virtual teapot that was made in 1975 by a student in the
University of Utah named Martin Newell. He created this teapot by
using mathematical coordinates as shown in the image above.
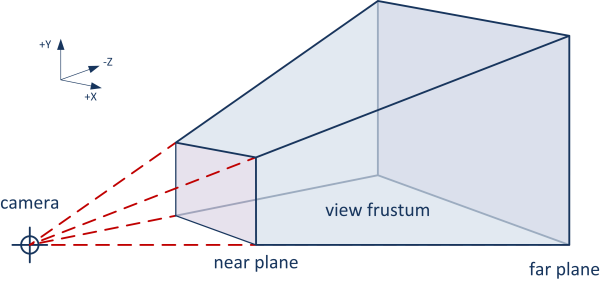
3D graphics have a lot of complicated math. As we know Martin Newell
created the teapot by using coordinates. Above is an image demonstrating
the "viewing frustum". The viewing frustum is how something that is 3D
can look like it is 3d in a 2D surface.
Alice

After we learned about 3D graphics we got to make our own 3D graphics by
using a program called Alice. Alice is very similar to scratch because you
can drag and drop code instead of typing all the code. In Alice I made a 3D
shark chase a 3D fish. It started of by showing the shark and the fish swimming.
and when that was over I made it so that the user could control both the shark
and the fish with the arrow keys. Above is an image of the 3D shark.
Sketch Up
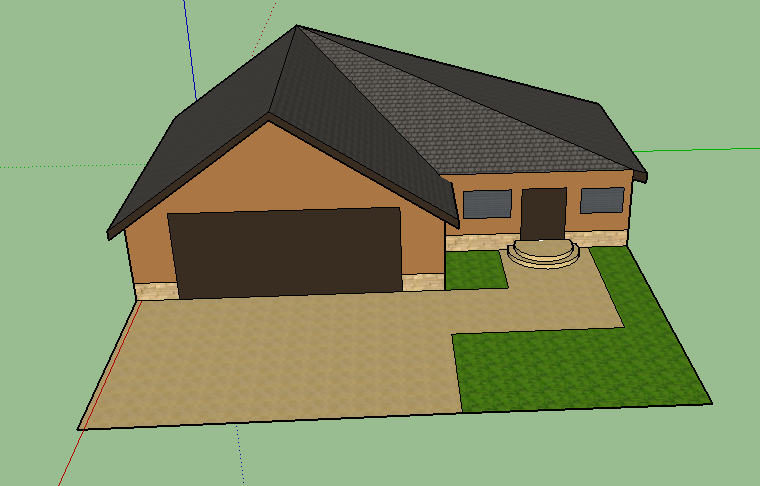
Today Wednsday January, 21, we used another program to make 3D graphics
called Sketch Up. This one is a lot different from Alice. It does not
have the drag and drop code feature. I'm not sure if you can even put
code in this program. I found Sketch Up easier to use than Alice because
it is easier to make 3D images. The down side is that you can't make these
images move. The image above is of a 3D house that I made using Sketch Up.
Visual Python
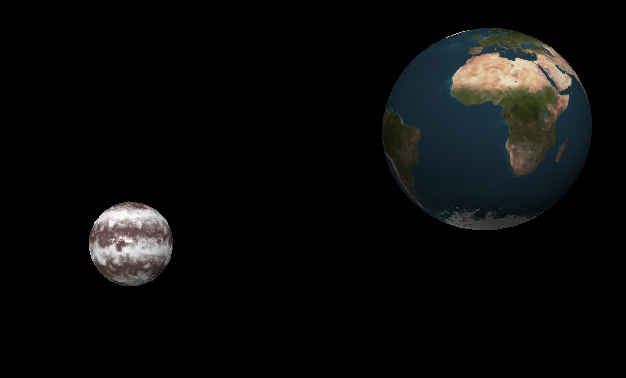
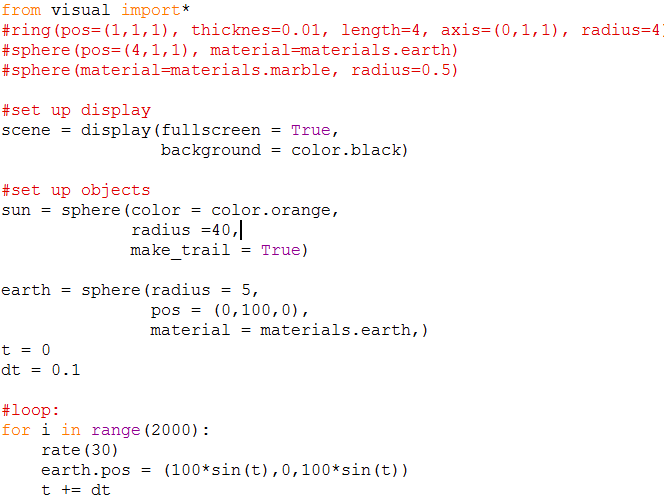
Today we started making 3D graphics using visual python. It is the same
as python except that you could make 3D images. I made a model of earth
and the moon which is shown above. The code is below.

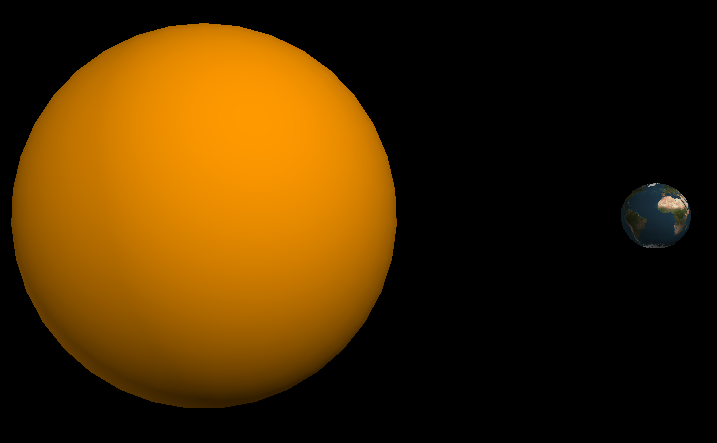
Later on Mr.Farrel showed us how to make the earth orbit around the sun.
We used a vector and a loop to make this happen. Below is the picture of
the sun, the earth, and the code.
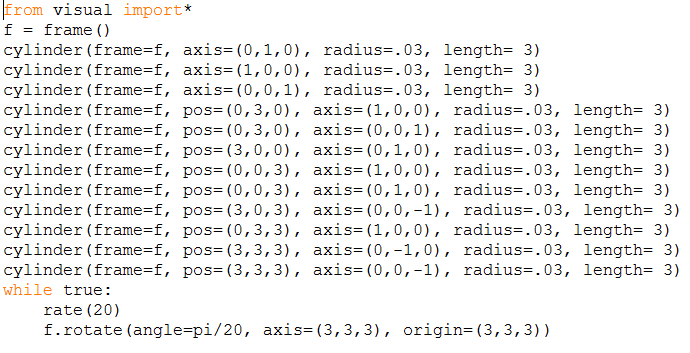
Tahoma Cube
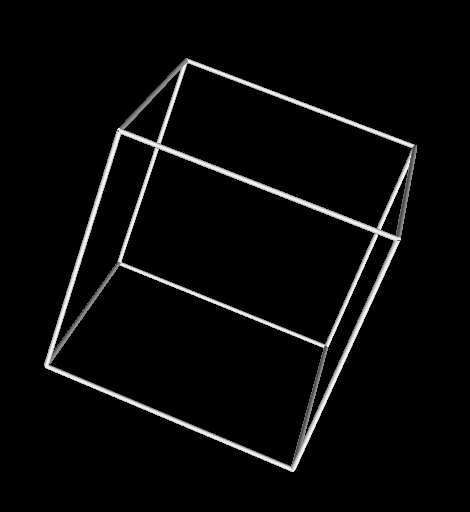
Today Mr.Farrell challenged us to make a cube that rotates by using Visual
Python. I used 12 cylinders to create the cube picture above. I first had
to create the cylinders and then I had to change the axis to make them form
a cube.The method that I used was trial and error. After doing the same mistake
a couple of times I understood how the axis worked. The x in the axis made the
cylinders point left or right. The y in the axis made the cylinder point up or
down.The z in the axis made the cylinders point inward or outward in the screen.
To make the cube rotate I first had to make the cylinders into a frame. A frame
makes Visual Python think that the cylinders are one shape instead of 12 shapes.
After you make the frame you could make the cube rotate by using a forever loop
and then tell it to rotate the frame. As you can see I also adjusted the rate of
the spin because it was going too fast. Below is the code that I used.